How to Apply Jolie Finishing Wax
Follow along with Jolie Home to learn how to use Jolie Finishing Wax on your painted pieces. Jolie Finishing Wax has a soft consistency, no odor, and easy application. Create a variety of finishes with Clear, White, Brown, or Black Finishing Wax or create your own custom colored Wax. View the Everyday Guide for written instructions on how to apply Jolie Finishing Wax.
Jolie Finishing Wax can be purchased via our online store.
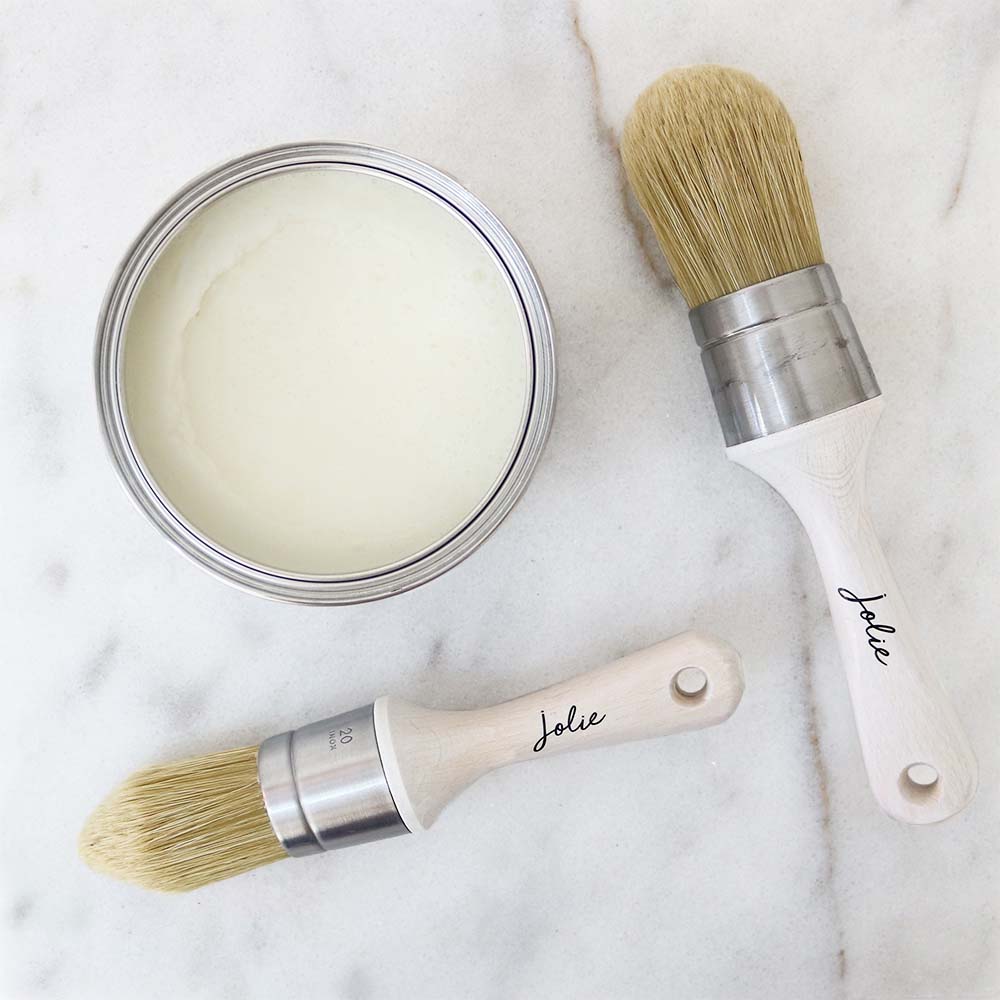
Materials Needed:
- Jolie Finishing Wax in Clear
- Jolie Finishing Wax in Brown
- Jolie Finishing Wax in Black
- Jolie Finishing Wax in White
- Jolie Wax Brush
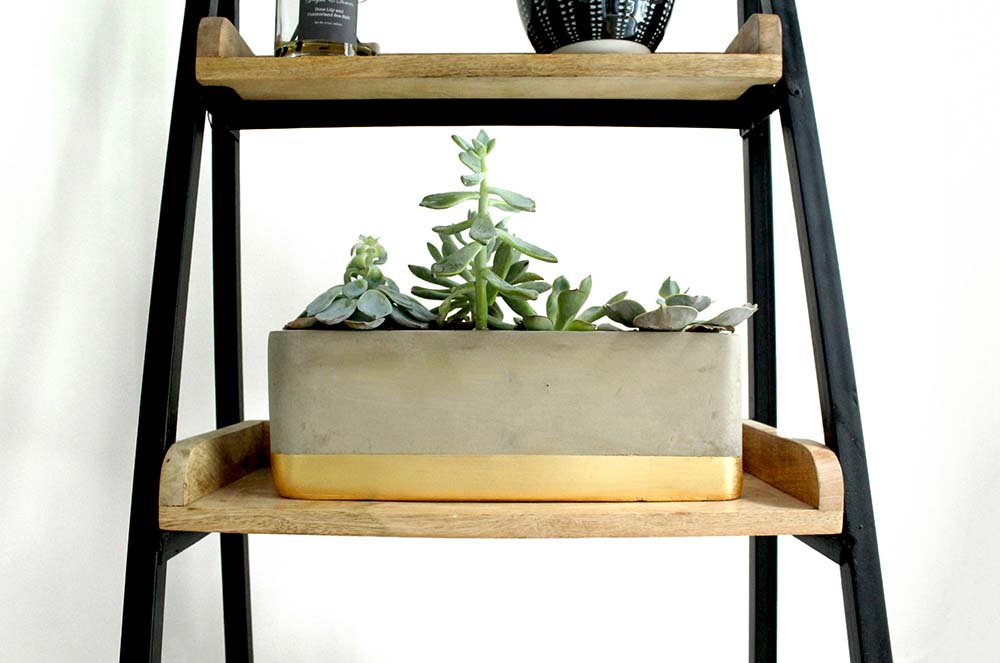
- Jolie Paint in a color of your choice- we used Jolie Paint in Slate
- Absorbent lint-free cloths
STEP ONE After painting your piece with Jolie Paint, use your Jolie Wax Brush to apply a coat of Jolie Finishing Wax in Clear in manageable sections of 2-3 square feet at a time. You will see the Jolie Paint color become slightly darker after the wax is applied. Proceed to step two before beginning to wax the next section.
EXCEPTION: Since the WHITE FINISHING WAX does not have any dark pigments, you don’t need to use Clear Finishing Wax before applying it. White Finishing Wax will slightly soften the underlying color and will be most noticeable in any texture or crevices.
STEP TWO Wipe away excess wax using a lint-free cloth and medium pressure. As the cloth becomes saturated with wax, you will need to replace or move to a clean area of your cloth so that it will continue to absorb wax. Repeat steps one and two until you have covered the entire surface with Clear Finishing Wax. This will protect your piece and allow you to have more control when using the colored Finishing Waxes.
STEP THREE Apply a small amount of your chosen colored Finishing Wax with a clean Wax Brush. If you are working OVER A LIGHTER COLOR, we recommend applying the colored Finishing Wax in the recessed areas only. ON DARKER OR BRIGHTER COLORS, you may want to apply the colored Finishing Wax all over. PRO TIP: It is helpful to have multiple Jolie Wax Brushes: one to use with your Clear Finishing Wax and one to use with your colored Finishing Waxes. This will help you keep your Clear Finishing Wax container clean for future projects.
STEP FOUR Remove the excess wax with a soft, lint-free cloth. If your result is too dark, you can use a small amount of Clear Finishing Wax on a clean cloth to easily remove some of the colored Finishing Wax. Let the wax dry overnight before adding additional coats or buffing. Be gentle with your piece for the first two weeks until the wax has fully cured and hardened.
MAKING YOUR OWN CUSTOM COLORED WAX
STEP ONE After painting your piece with Jolie Paint, use your Jolie Wax Brush to apply a coat of Jolie Finishing Wax in Clear in manageable sections of 2-3 square feet at a time. You will see the Jolie Paint color become slightly darker after the wax is applied. Proceed to step two before beginning to wax the next section.
STEP TWO Wipe away excess wax using a lint-free cloth and medium pressure. As the cloth becomes saturated with wax, you will need to replace or move to a clean area of your cloth so that it will continue to absorb wax. Repeat steps one and two until you have covered the entire surface with Clear Finishing Wax. This will protect your piece and allow you to have more control when using the colored Finishing Waxes.
STEP THREE Mix about two parts of Jolie Finishing Wax with one part of Jolie Paint on wax paper or a paper plate. If you want the Finishing Wax to be more translucent, you can alter the ratio and add additional wax to the mix. Mix the paint and wax together really well.
STEP FOUR Next, apply your custom colored Finishing Wax, wiping away the excess as you go.
STEP FIVE Remove the excess wax with a soft, lint-free cloth. If you want to remove some of the coloration, use a small amount of Clear Finishing Wax on a clean cloth and wipe over the surface. Let the wax dry overnight before adding additional coats or buffing. Be gentle with your piece for the first two weeks until the wax has fully cured and hardened.
PRO TIP: With the addition of the paint to the Finishing Wax, the wax is likely to dry faster.